Professional Painting Techniques for Anyone

It’s easier to follow along with a painting if the steps are simple and not too wordy, so you won’t hear us saying much about the vocabulary of the techniques we use in class or any unnecessary particulars about their exact definitions. That being said, if you’re a creative-type like me, then knowing more about those techniques can be pretty useful for the moments you want to go outside of the box and do your own thing. For all of you creative artists out there—here are just a few painting techniques that artists use to create their masterpieces.
“Stippling” is a word that DOES actually show up in our classes sometimes. It’s a really helpful technique that basically means, “to mark a surface with many small dots or specks.” It can often resemble pointillism paintings like Georges Seurat’s “A Sunday Afternoon on the Island of La Grande Jatte.” It’s handy if you want to add a rough texture to something that’s far away, like distant trees or clouds. It can also be used to shade objects by clustering many marks together, and gradually spacing them farther apart as you cross a surface. If you’re painting with a dark color, then the area where the dots are clustered close together will appear very dark, and will gradually lighten as more space appears between marks—sort of like a comic book (though those dots are actually called “Ben-Day” dots.) Stippling is helpful because it creates an “implied” sense of detail without having to actually do all that much work.
“Scumbling” is a technique in which a layer of broken, scratchy, speckled color is added over a surface. It’s a little bit like the messier version of stippling and can add fuzzy, chalky texture over things. It’s best to use a dry brush when scumbling because the technique takes advantage of the way a dry brush catches the texture of a dry canvas. It looks a little bit like the small version of using a sponge to paint on drywall, so it’s great for adding color and texture to paintings of walls and pottery. It can also be used to create “misty effects” that might appear in paintings of skies with hazy clouds or seas with crashing waves. If you’ve ever watched a video of Bob Ross painting a landscape, you’ve probably seen him scumble clouds, mist, and even trees.
“Cross-Hatching” is one of the most versatile techniques and one that a lot of artists learn as early as their middle-school art classes and use for the rest of their lives. It basically means to paint with overlapping, messy x-shaped strokes. You’ll recognize it as creating an “impressionist” like look to your masterpieces because it exaggerates the brush-strokes you’re making. Because of this, it’s usually not a great technique to use if you want a realistic-looking painting. However, if you want a painting that looks like Claude Monet painted it, or if you want to achieve painterly and expressive looks, cross-hatching can be used to shade objects and backgrounds or blend gradients together while adding texture to them.
“Glazing” isn’t a technique we use often at Pinot’s Palette, but it does show up every so often and can be really helpful when creating more detailed or refined paintings. You might find this technique useful if you join us for our Project Pet class. Glazing is the technique of applying a thin layer of watered-down color over a surface. It’s usually used to create subtle changes in color and lighting in a painting, but we’ve also used it in our paintings to create shadows and reflections in water. Sometimes this technique is also called “Washing” if a large area is being covered in a watered down painting—this is helpful when creating backgrounds that you want to look like watercolor paintings.
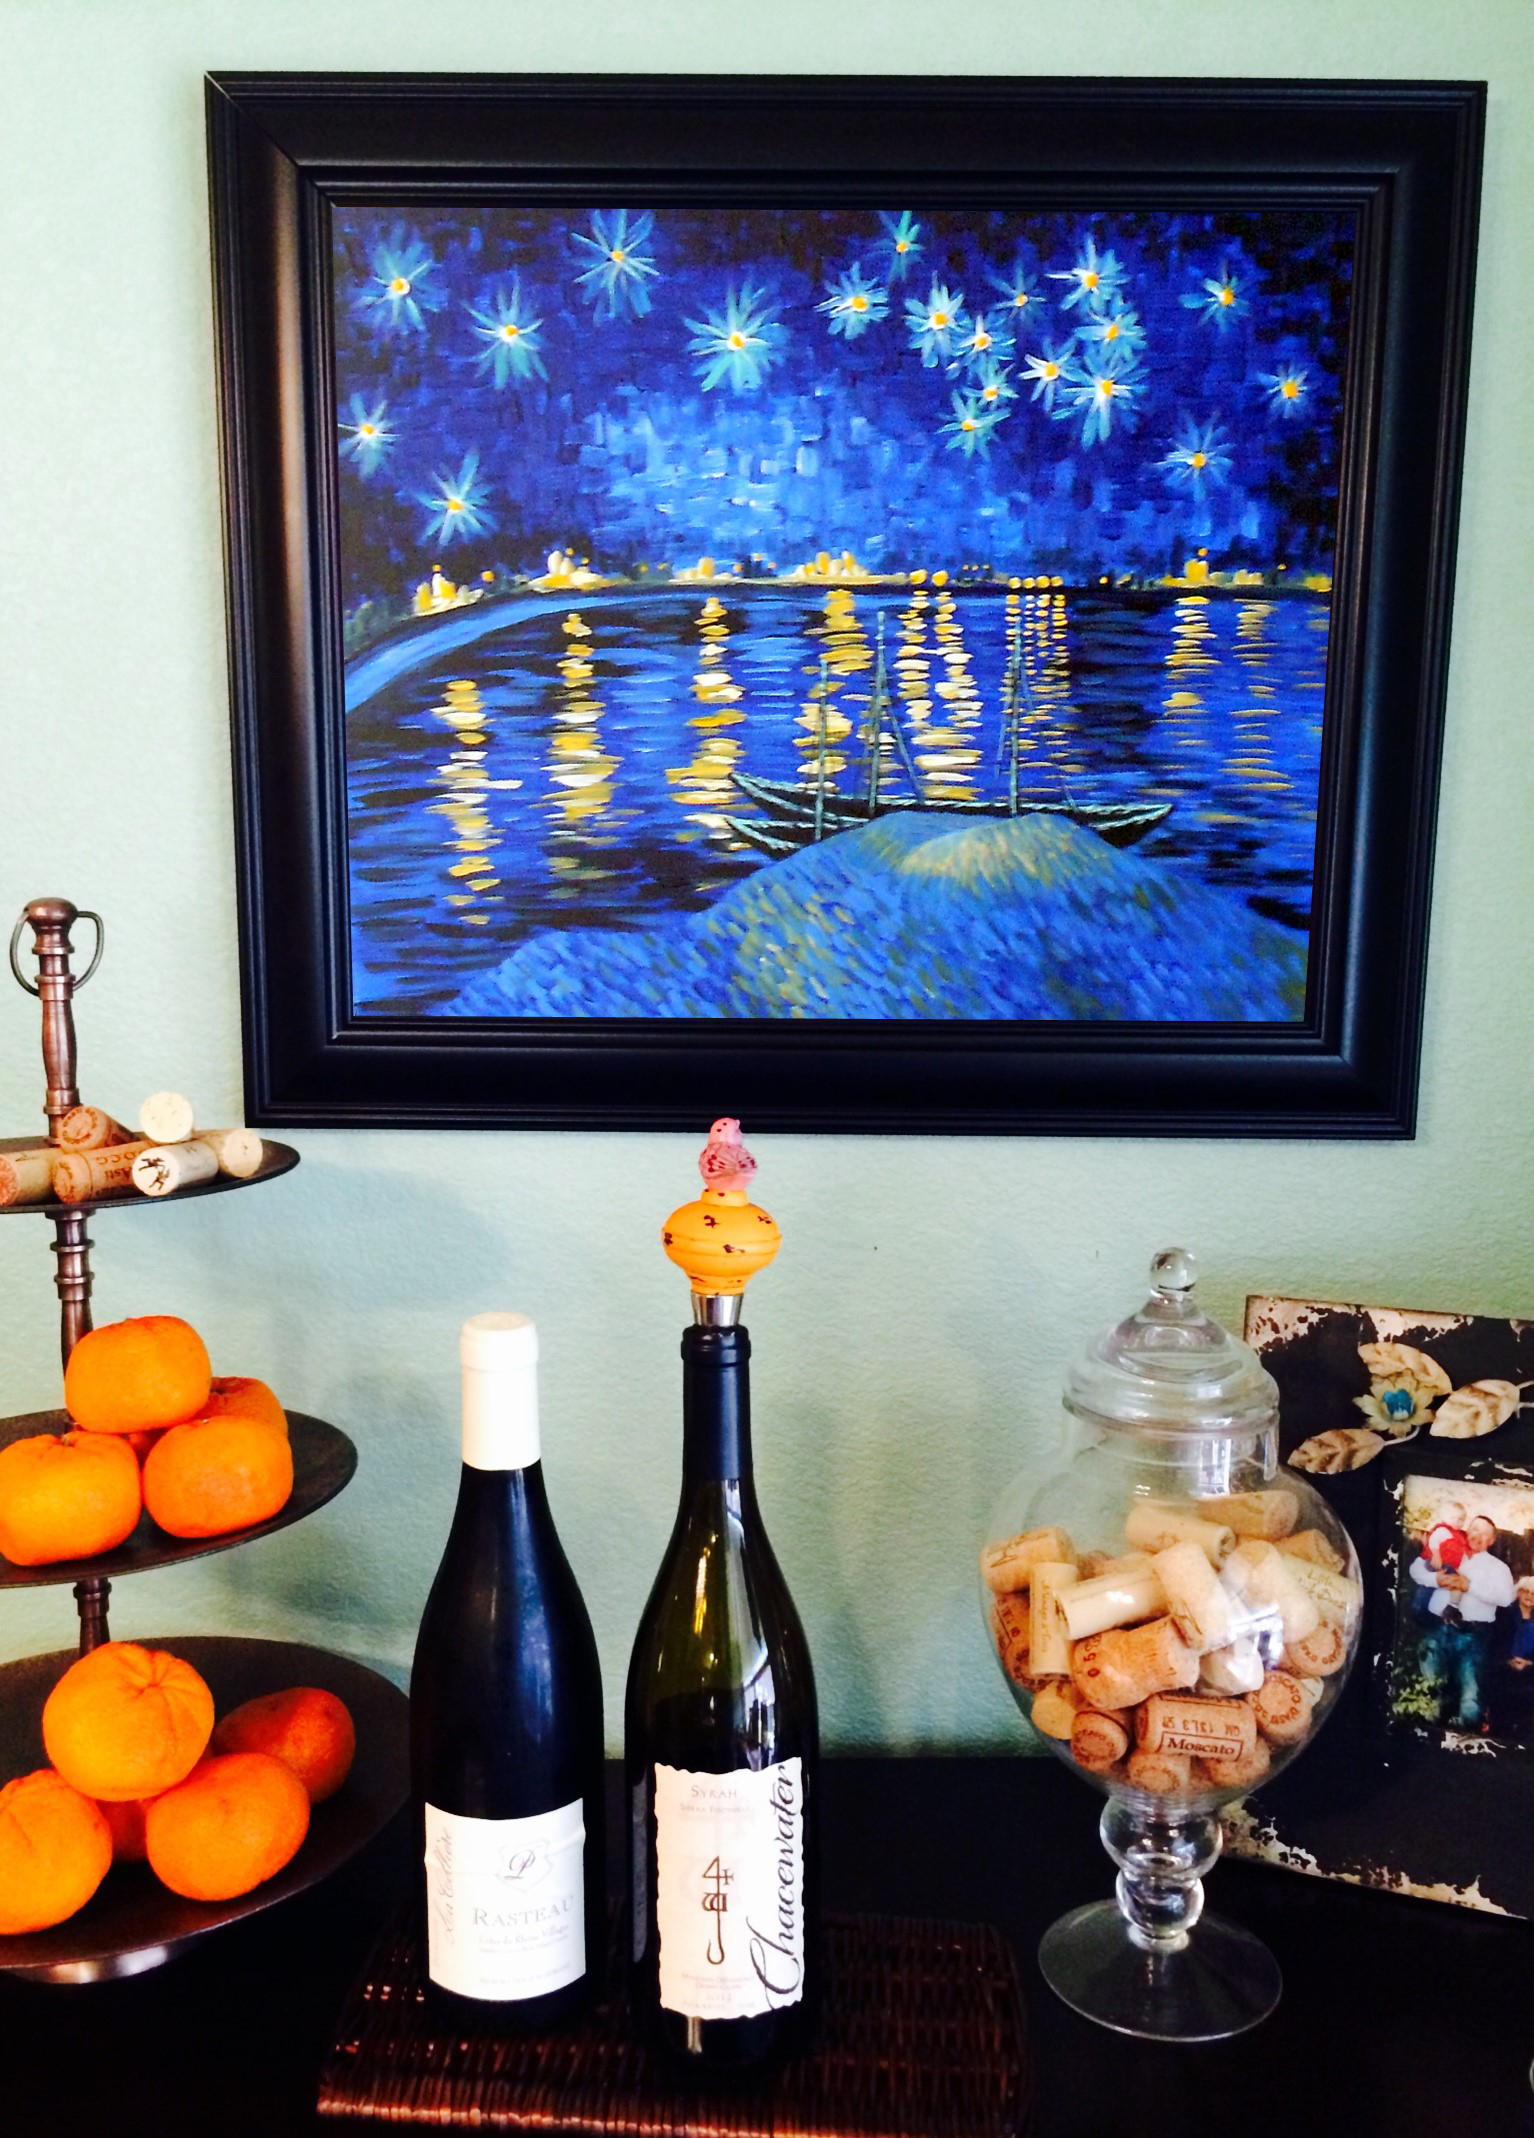
“Impasto” is the technique of laying down paint in such thick layers that it creates real, three-dimensional texture on the surface of your canvas. It makes one’s brushstrokes incredibly visible, and will probably remind you of a Van Gogh painting. Often used with a palette knife, it can also be used with any sized paintbrush. Because this technique greatly increases the amount of time it takes to dry your painting, you won’t see it showing up very often in our paintings at Pinot’s Palette, and on the rare occasion that it does make an appearance, it’ll probably be in the second half of the class. Oil paints work best for Impasto painting because oil-paint brush strokes hold their shape better, but acrylic paint (which is usually a little runnier) can be used as well, though it will likely be more subtle of a look. Regardless of what medium your using, impasto painting creates extreme, expressive texture and tends to make paintings swirl and blur into themselves kind of like Van Gogh’s 'Starry Night over the Rhone'.
There’s a big chance you’ve used one, if not all of these techniques if you’ve ever painted with us before. Each of them has their own uses for creating unique looks, and understanding these techniques will make anyone a better painter. Practice always makes perfect though, and any of our paintings could be painted using one or more of these techniques to change it up into something original.
In spite of all of that, our paintings are never as complicated as they look. Even if you’ve never painted before, or tried any of the techniques above, you’ll still be able to make something that looks amazing. What’s more, you might find that you’re a step ahead of the game now that you’ve read a little bit about the techniques the professionals use.

