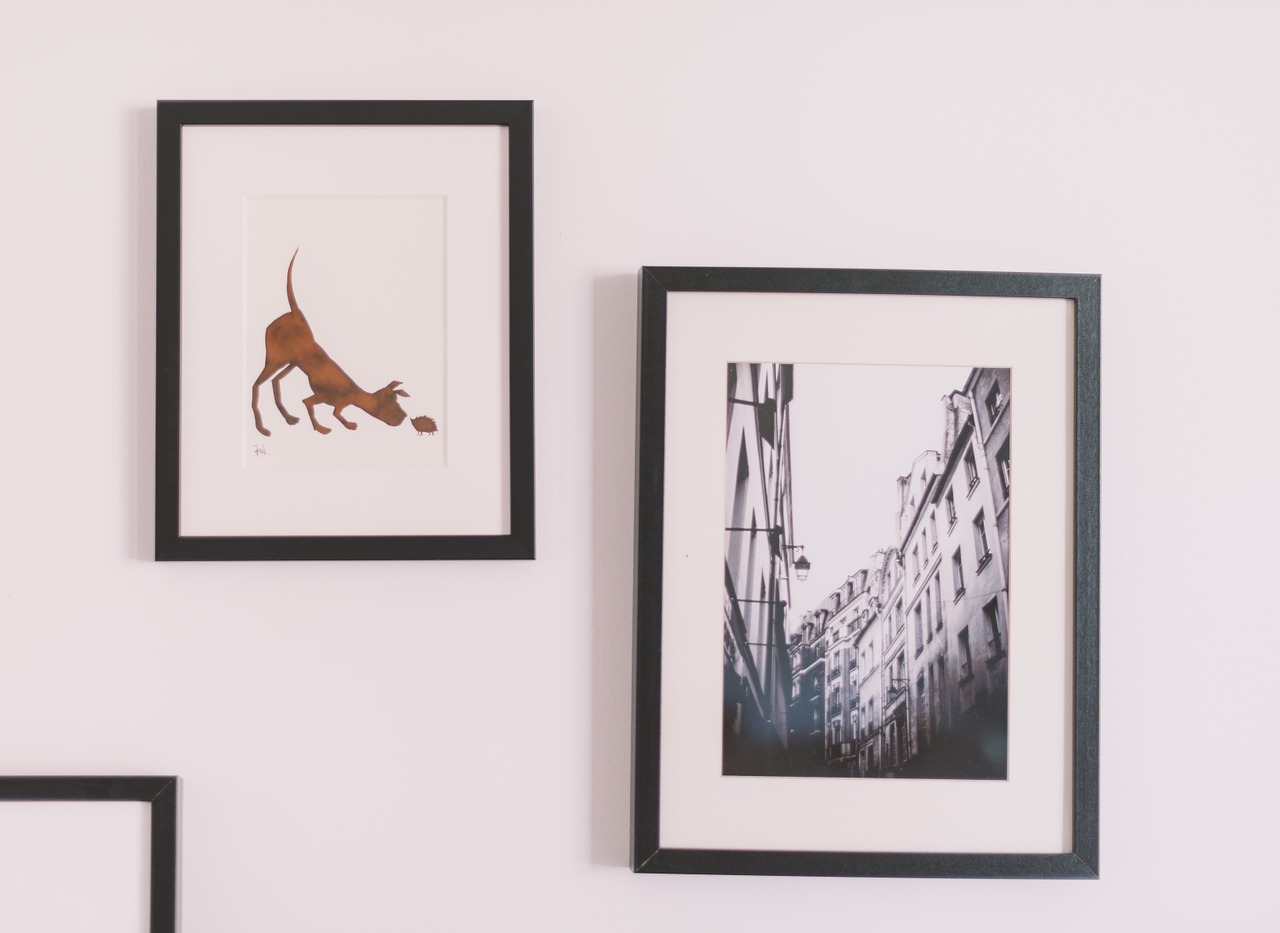
How to Make a Gallery Wall
The gallery wall is one of our favorite home design trends. One of our favorite things about it? There are a million ways to do a gallery wall! From symmetrical and pristine, to organized chaos, the way you arrange your wall is as big a personal statement as the pictures you choose to display.

1. ORGANIZE BY THEME
The theme can be family, travels or paintings, but look for variety within the theme. If the theme is travel, it’s boring to have 10 photos of panoramic landscapes. Do a couple landscapes, a couple people shots, some close-ups, some architecture. If the theme is family, include group photos as well as photos with one or two people, casual and professional, and don’t forget to show off the pets. Mixing photos with paintings or prints looks nice, too.
2. CHOOSE A LAYOUT
This varies depending on who you are, what your interior design style is and what sort of wall space you’re working with. You can go perfectly symmetrical: all frames the same size and shape, all fit into a clean boxed outline. You can go organized but undefined: Similar-but-different frames arranged along an axis, with a less rigid border. You can go free-flowing: all types of frames everywhere! Do what works for you; you can always switch it up at a later time. What’s important for any of these types of arrangements is to balance your negative space. Don’t have some frames one inch apart while others are six inches away from each other.
3. START FRAMING
Some people will opt for a perfectly symmetrical layout and an all-round clean, classic look. But most people and most designers prefer frames of different finishes, styles and sizes. A plain metallic frame with a mat board, an embellished metallic frame, a solid black frame… all of these can go together if united by theme and layout.
4. TEST THE LOOK
You don’t have to commit to nails in your wall right away. Keep the tags on the frames and put your photos in. Measure a space on your floor that matches the space on your wall. Lay your entire gallery on the floor and arrange, rearrange and tweak as needed until you love the way it looks. Once you’re happy with the floor version of the gallery, take a photo. You’ll want to reference it during the hanging process.
5. HANG ‘EM UP
Start with your center piece(s). Work outward from the center, measuring the space between pictures on the floor and transferring the measurements to the wall. One by one, each picture will go up exactly where it needs to be.
NEED AFFORDABLE FRAMES?
It just so happens, Pinot’s Palette studios sell frames in a variety of colors and styles. You can frame paintings you’ve made yourself, or use the frames for pieces you already have at home.
Share 10 Tips for Personalizing Your Bedroom | Lighting for Artwork Display

