DIY Painted Dresser
Are you a big fan of HGTV and constantly thinking of ways to spruce up your home? I am always wanting that “statement” piece that draws the eye in and pops! If you’re into DIY-ing, then you should give this a painted dresser a shot!

Step 1. You will need to prep the dresser before painting it. This only requires washing it with water and mild dish soap, and drying with a soft cloth.
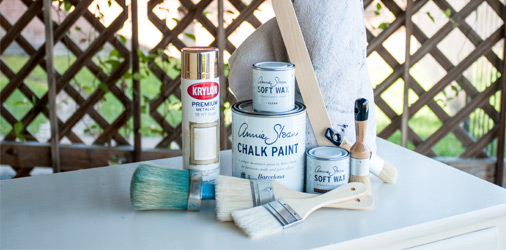
Step 2. Pick your favorite chalk paint color and start painting! There are many types of chalk paint out there, but the one I’ve had the most success with is “Annie Sloan.” For best results, use a 3” chip paint brush for a smooth paint application and apply a couple of coats for maximum coverage.
Step 3. After the paint has had 24 hours to dry, apply a wax coating to seal the dresser from water, dust and dirt. The coating I have used, and works great is Annie Sloan Soft Wax.
All done! Now you get to style the dresser and enjoy! I suggest styling the dresser with a bouquet of fresh flowers and Pinot’s Palette painting!

