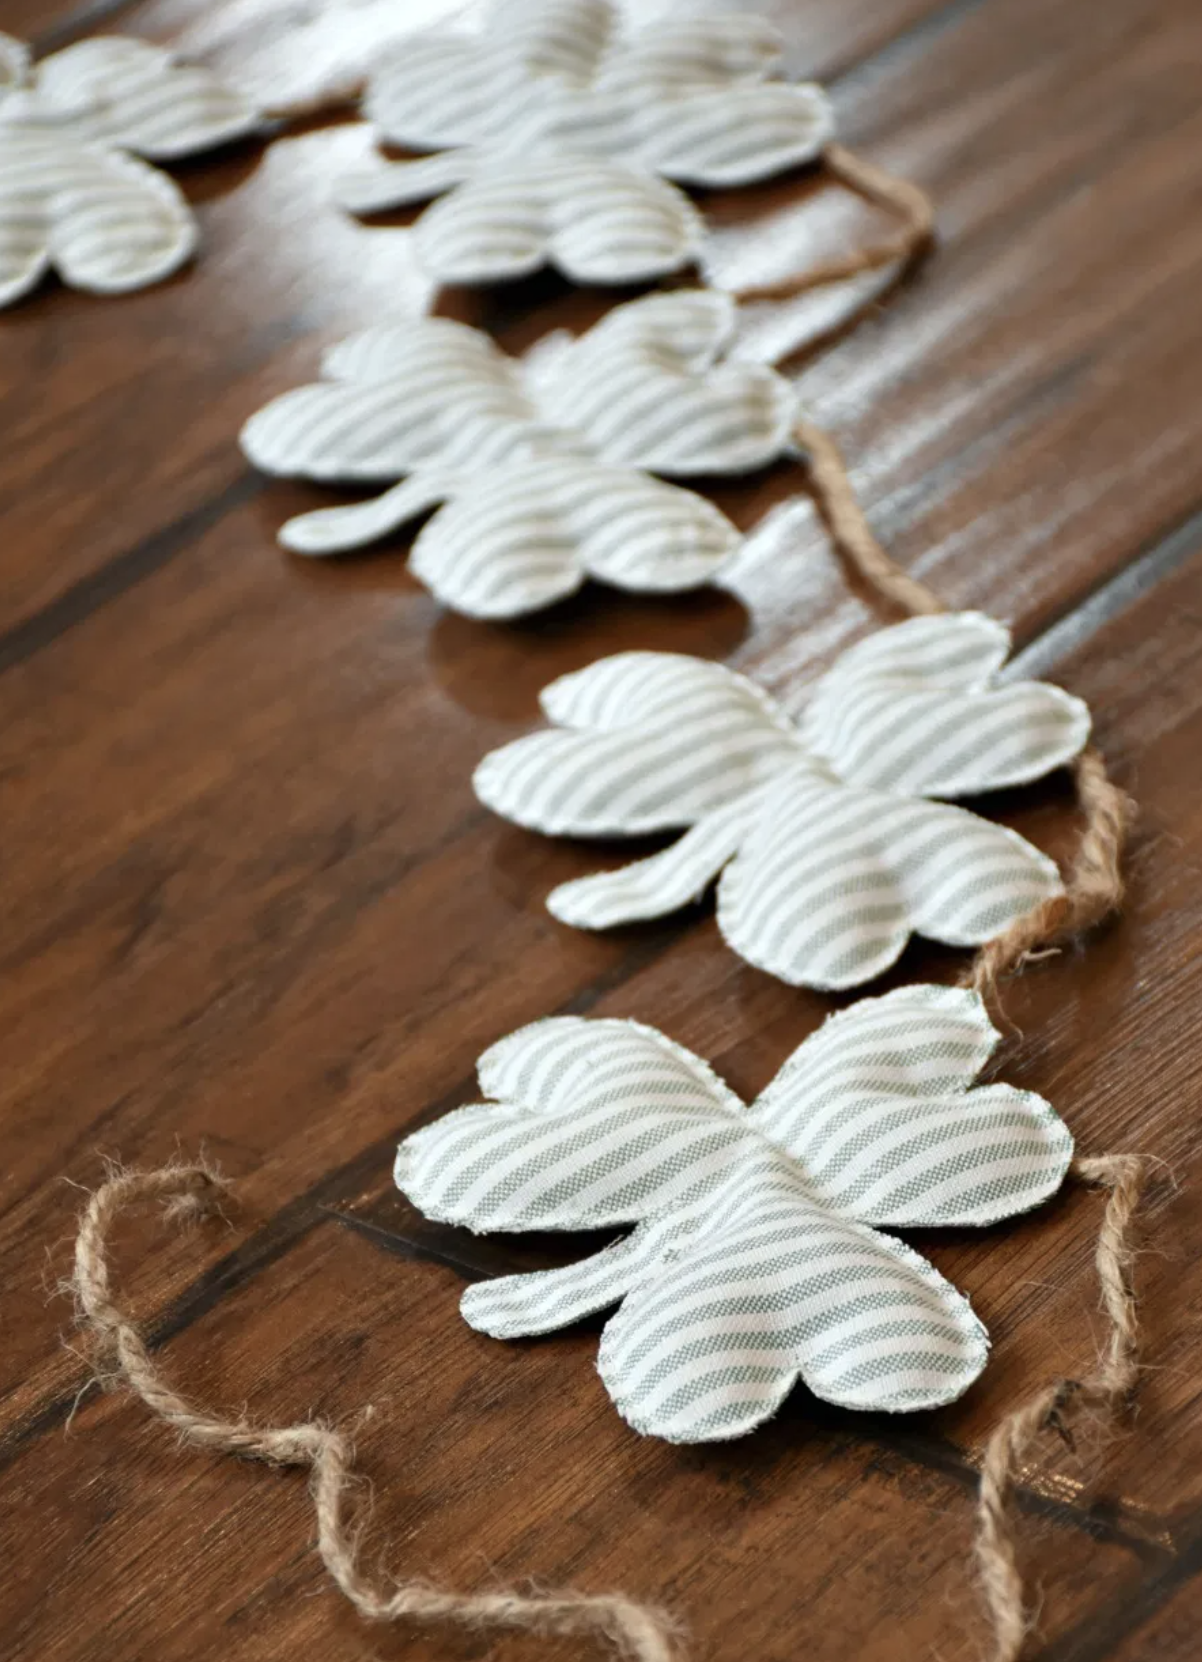
Saint Patrick’s Day Craft: Farmhouse Shamrock Garland

This craft is from A Wonderful Thought: https://awon...753474_368507
FOR THIS PROJECT YOU WILL NEED:
• Shamrock template
• Cardstock
• Green striped/ticking fabric
• Rice
• Funnel
• Sewing machine
• Thread/Needle
• Scissors
• Twine
Instructions:
-You do have to have a little bit of sewing skills to make this garland but not much. If you can follow a line then you can make this! I found a shamrock clip art online, sized it to about 4.75 inches wide and printed it out on card stock. This would become my template to trace onto the fabric.
-To make the job easier and faster, double over a piece of your fabric making sure that the ticking lines match up as best as possible. Trace the shamrock template onto the fabric several times leaving a little space in between each shamrock. I made 12 shamrocks but ended up only using 11 on the garland.
-Pin the two layers together in each shamrock. Cut around the individual shamrocks, not directly on the line though.
-Next, take the shamrocks over to your sewing machine. You will be sewing the two layers together but leaving an opening to fill the shamrocks with rice to make them “puffy”. You can see the puffiness of the shamrocks in this picture of the finished garland.
-I did not sew directly on the line but just to the left of it about 1/8″. My presser foot attachment has an opening in it that I just followed the line with. I believe it is the “F” satin stitch attachment, this one pretty much stays on my sewing machine all of the time unless I need a specific attachment for a project.
-Make sure to back stitch at the beginning and end of your sewing. You can see where I started and stopped in the picture below. I wanted to leave enough room for the funnel to fit into the shamrock to fill it.
When adding the rice, I used a bamboo skewer to help move the rice around so I could fit more in. I also had to move the rice around by squishing it to make sure all the spaces were filled. I left some room at the opening so I would be able to sew the shamrock closed. My finger worked as a good spacer.
-Sew the shamrock closed. I did not get any pictures of this process as it was a little tricky. You have to make sure the rice is out of the way so the shamrock will fit under your presser foot. I found it easier to sew it closed in the opposite direction than I originally sewed. It does not have to be perfect, just closed enough that the rice will not spill out. You could also hand sew it shut as another option.
-After it is closed, remove the excess fabric by cutting along the black line. The edges will eventually fray but that is fine, it will add to the farmhouse look. I found it easier to make short cuts into the corners rather than cutting around the shamrock in one long cut.
-To string the shamrocks on the twine, I used a needle and thread and just tied simple knots.
-I spaced out the shamrocks just by eyeing what I thought looked like good spacing. You can space them how you like. Cut the twine off after you have all of the shamrocks attached.
-I strung it on an old window but it would look great on a mantel too! Or anything for that matter!

